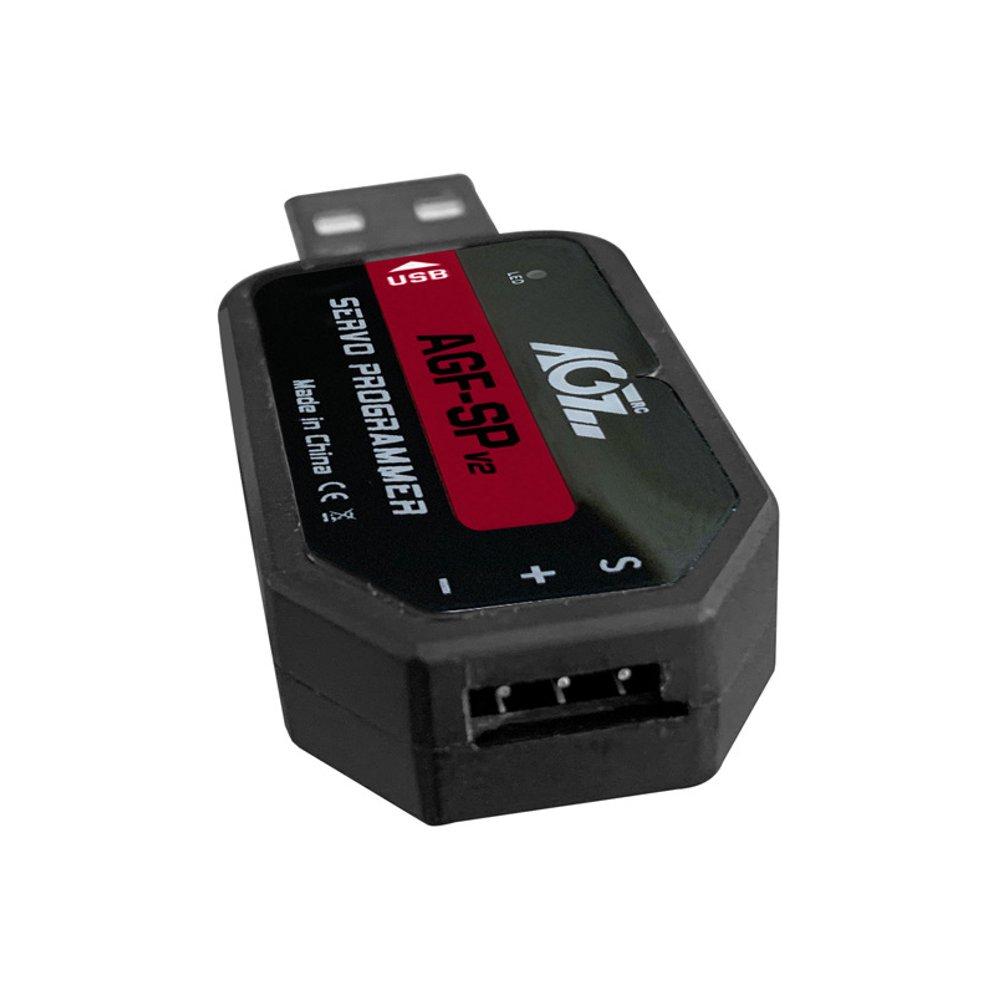
USB Program Card for AGFrc Servos
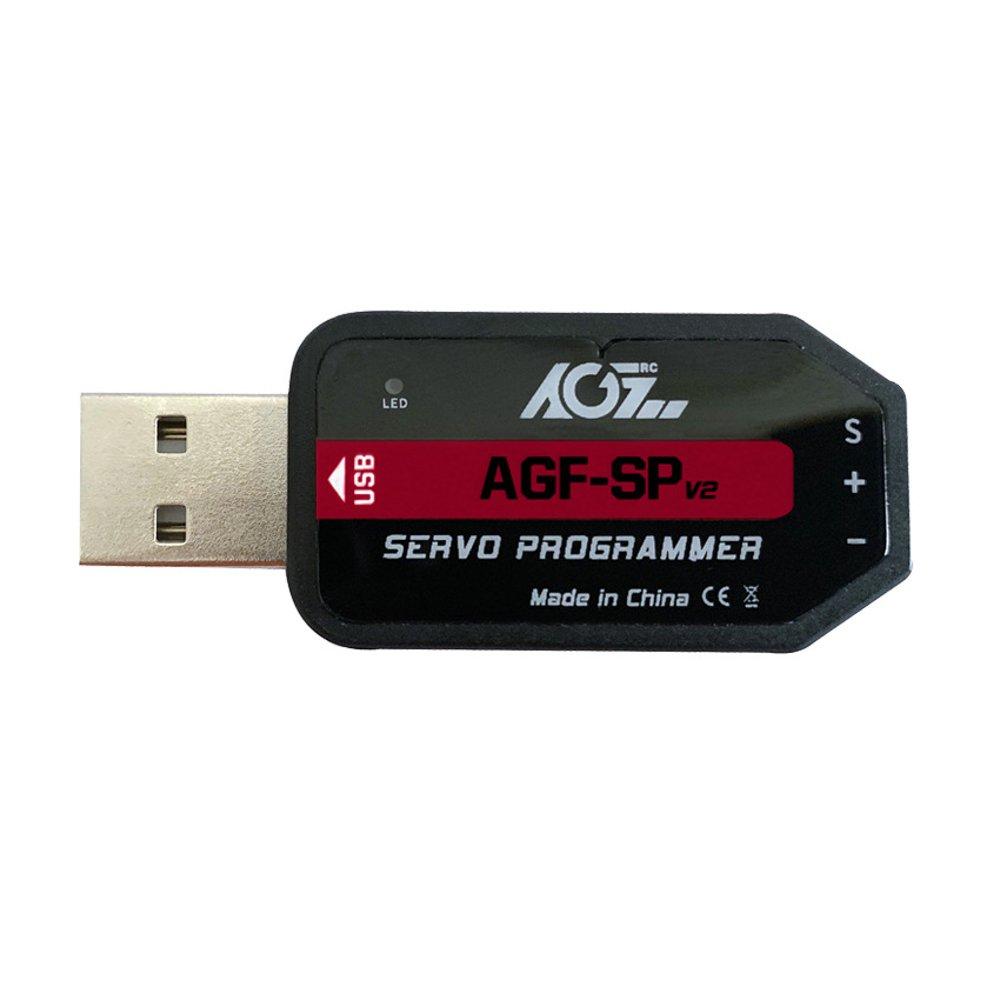
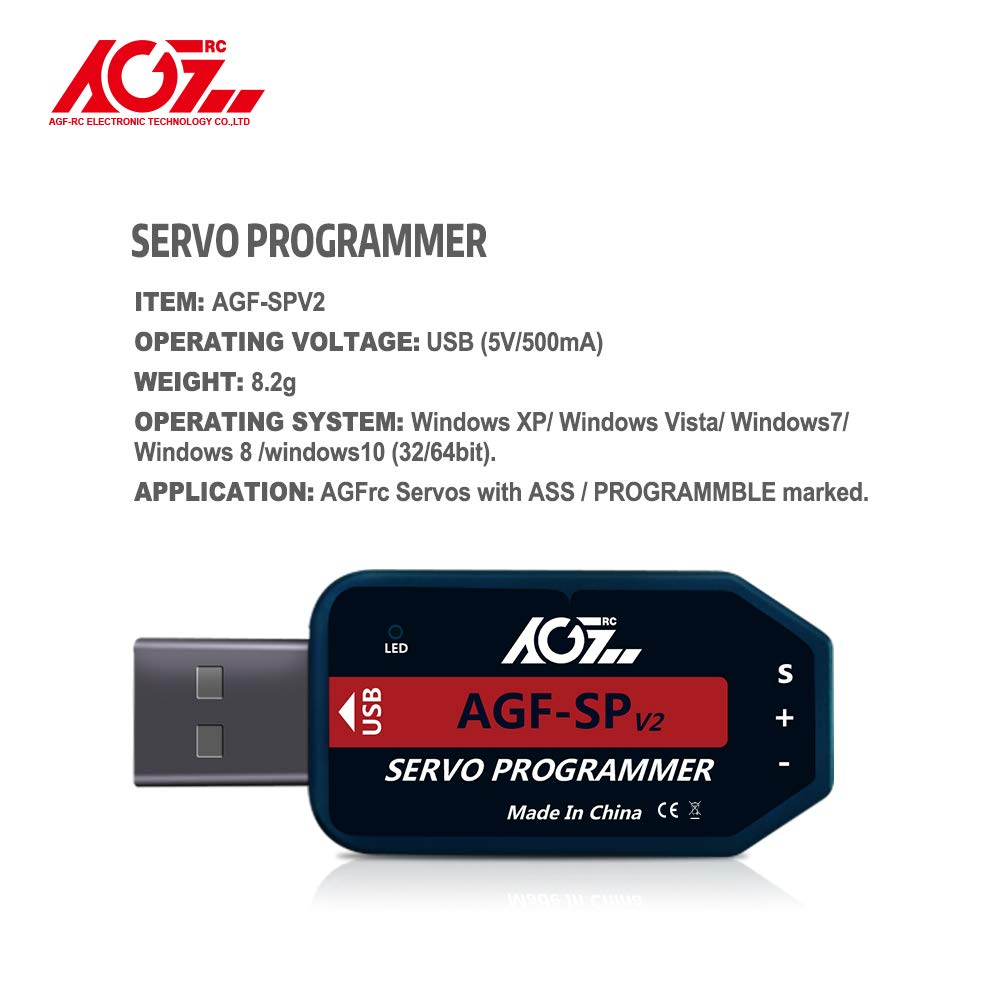
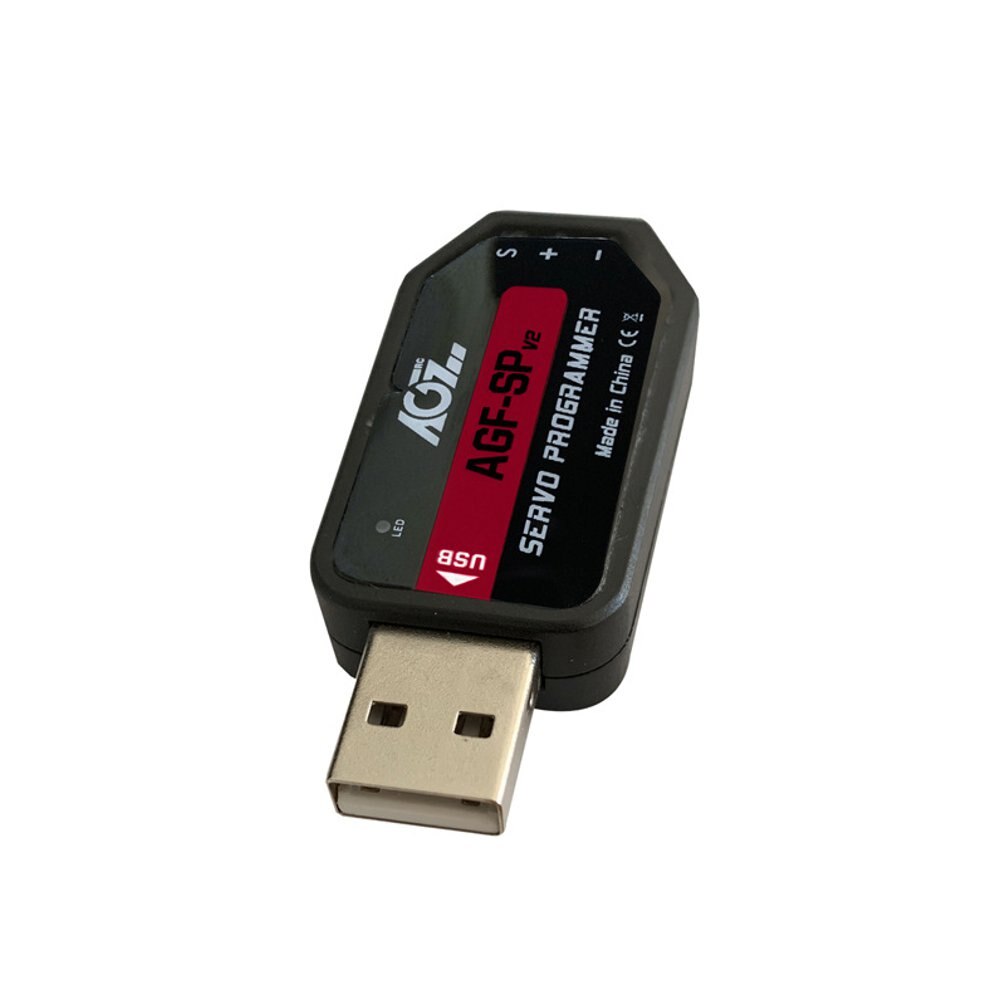
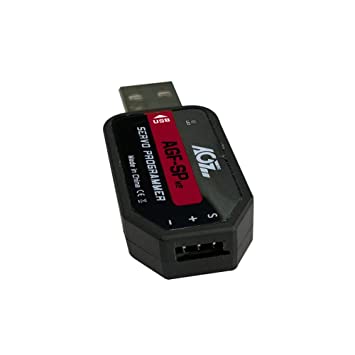
AGFrc AGF-SPV2 USB Program Card for AGFrc Servos with ASS marking This card is the "Plug and Play" type USB programming card. It is easy to use and program the AGFrc programmable servos. Please note that this USB program card can only be used for AGFrc servos with ASS marking. If you have questions for which AGFrc servo can be programmed, pls contact us for details. Software download from here: https://www.agfrc.com/index.php?id=download-center System Requirements:
Software Menu Instructions:
The centre part is for information display window, while connect/ disconnect program card, or write/ Read servo parameter, it will show information.
Parameter Function Instructions:
Usage Instructions:
Servo Firmware Update Instructions 1. While connected with the servo, click "UPF", select the upgrade firmware from the pop-up window, and click to upgrade(as below pic)
2. During upgrading, information window will hint upgrade process, it will shows "Success Update" once completed(as below pic).
3. After finished updated the servo firmware, please click to “Read” the parameter first on the software interface.
|
12V Smart Servo, USB Programmable, Waterproof, Mega Torque 60KG (834Oz)
12V Smart Servo, USB Programmable, Waterproof, Mega Torque 60KG (834Oz) |
AGF-SA86BVMW
$145.99
MKS-X8 Metal 3.5" Rudder Arm
X8 3.5" Rudder Metal horn.This horn will only work on our X8 8mm Spline. |
MKS-2015-12
$24.50
RCEXL Universal On Board Glow System Methanol Engine Ignition With LED Indicator
| RCEXL Universal On Board Glow System Methanol Engine Ignition With LED Indicator Fuel clunks are a must for aerobatic flying. It insures that fuel is always flowing to the engine because the fuel line will follow gravity inside your tank. Without one, you increase the chance that your plane may stall when flying inverted or performing different maneuvers. Installing a fuel clunk is simple to install and an investment that any serious pilot should make. 13x16mm .4 oz |
Rcexl-Glow-igniter-2214
$21.99
Super Cub 750 Brushless RTF 4-Channel Aircraft with PASS (Pilot Assist Stability Software) System
| 31.5" EPP 3D Airplane YAK55 Features: • Kit version - Assemble and install your choice of electronics • All hardware accessories included in kit • Durable EPP material with realistic printing resemblance of a shark • Simple to build Specification: Wingspan: 800mm Length: 875mm Flying Weight: 400g Suggested Power System: Motor: 2212 1400KV ESC: 20A Servo: 9g *4 Propeller: SF 8-9inch Radio: more than 4CH BATT: 2S 1200-1500mAh (Not incl.) Different versions supplied as below: E1701=E17 YAK55 KIT+APC SF9047 E1702=E17 YAK55 KIT+Motor(2212 1400KV+3.5mm Banana Male Plug+3.0mm Prop Adapter) E1704=E17 YAK55 KIT+Motor+ESC(20A E-Power+3.5mm Banana Female Plug+XT60 Plug)+Servo(9g*4) |
RGRA1500
$179.99


