
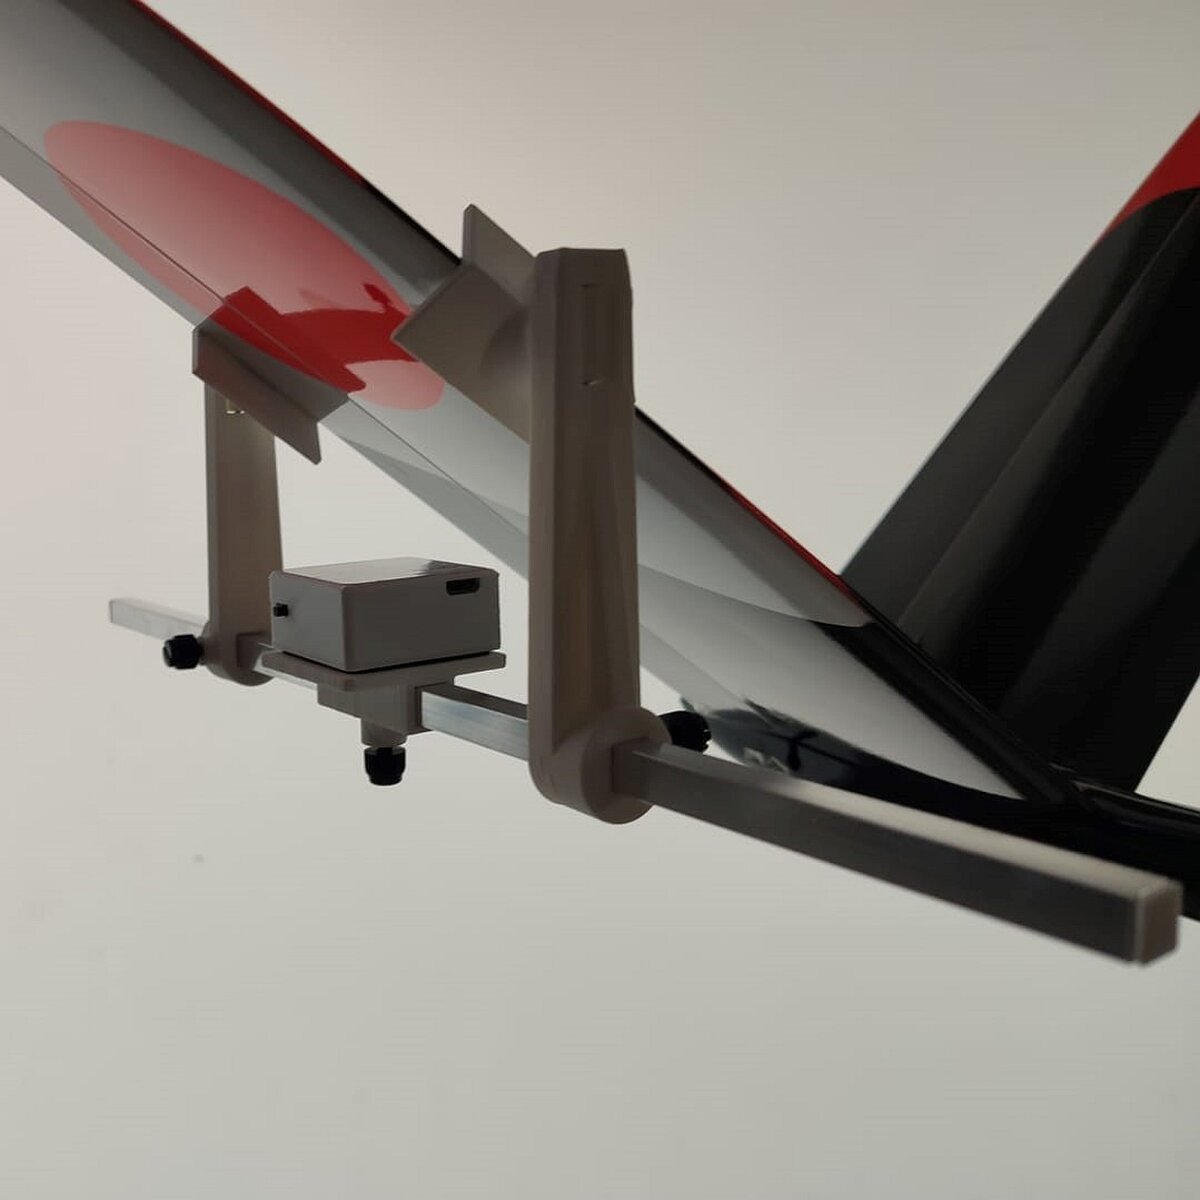
GliderCG Throw Meter and Wing Incidence Tool (Multi-Purpose Digital Angle Throw Meter, measure the dihedral angle of a wing, measure incidence angles, etc.)
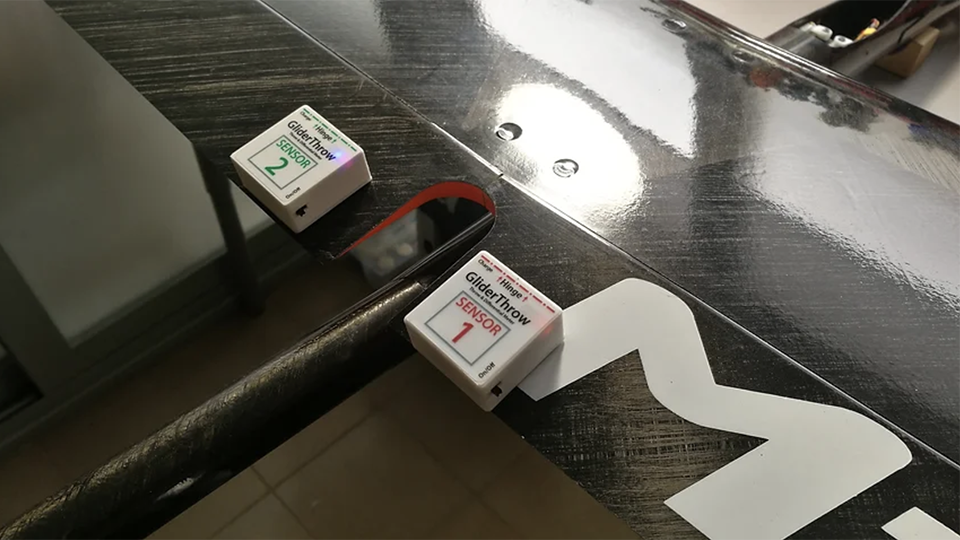
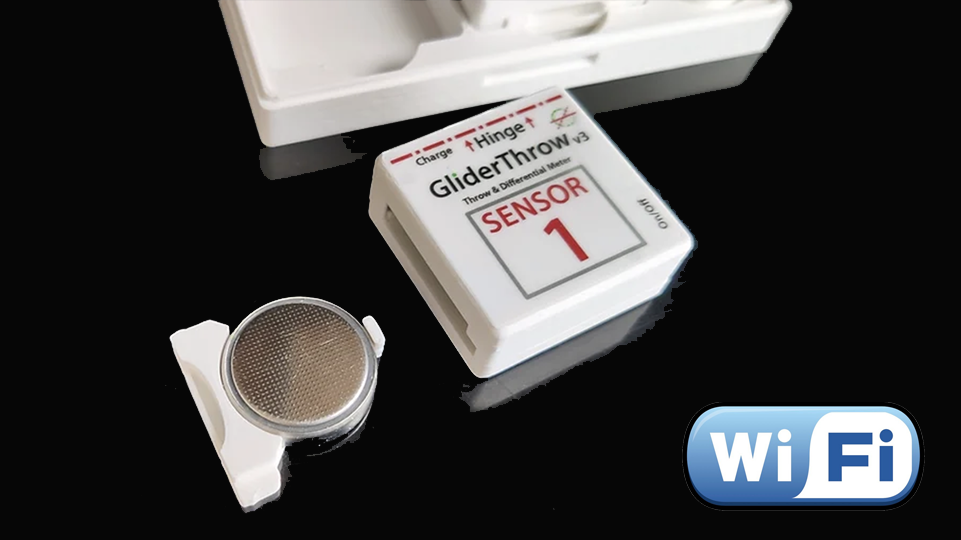
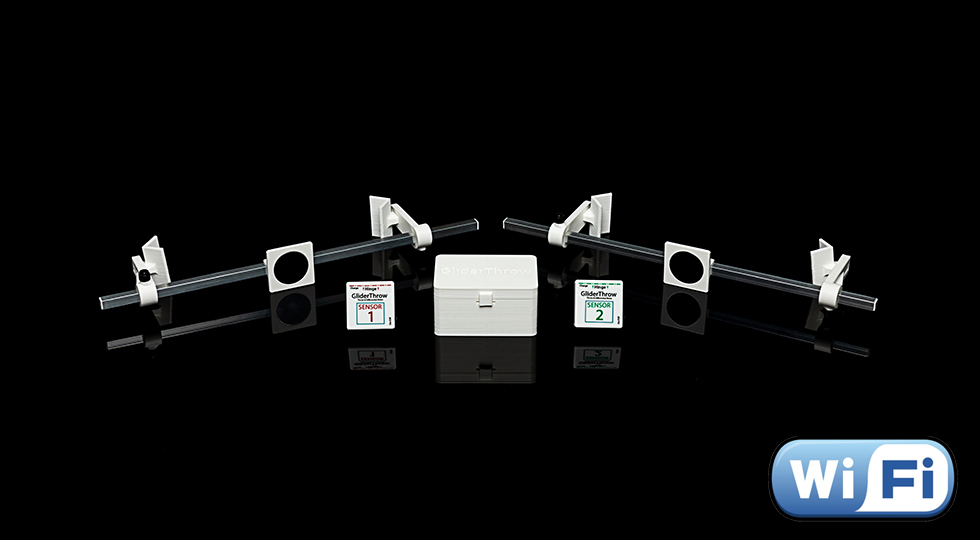
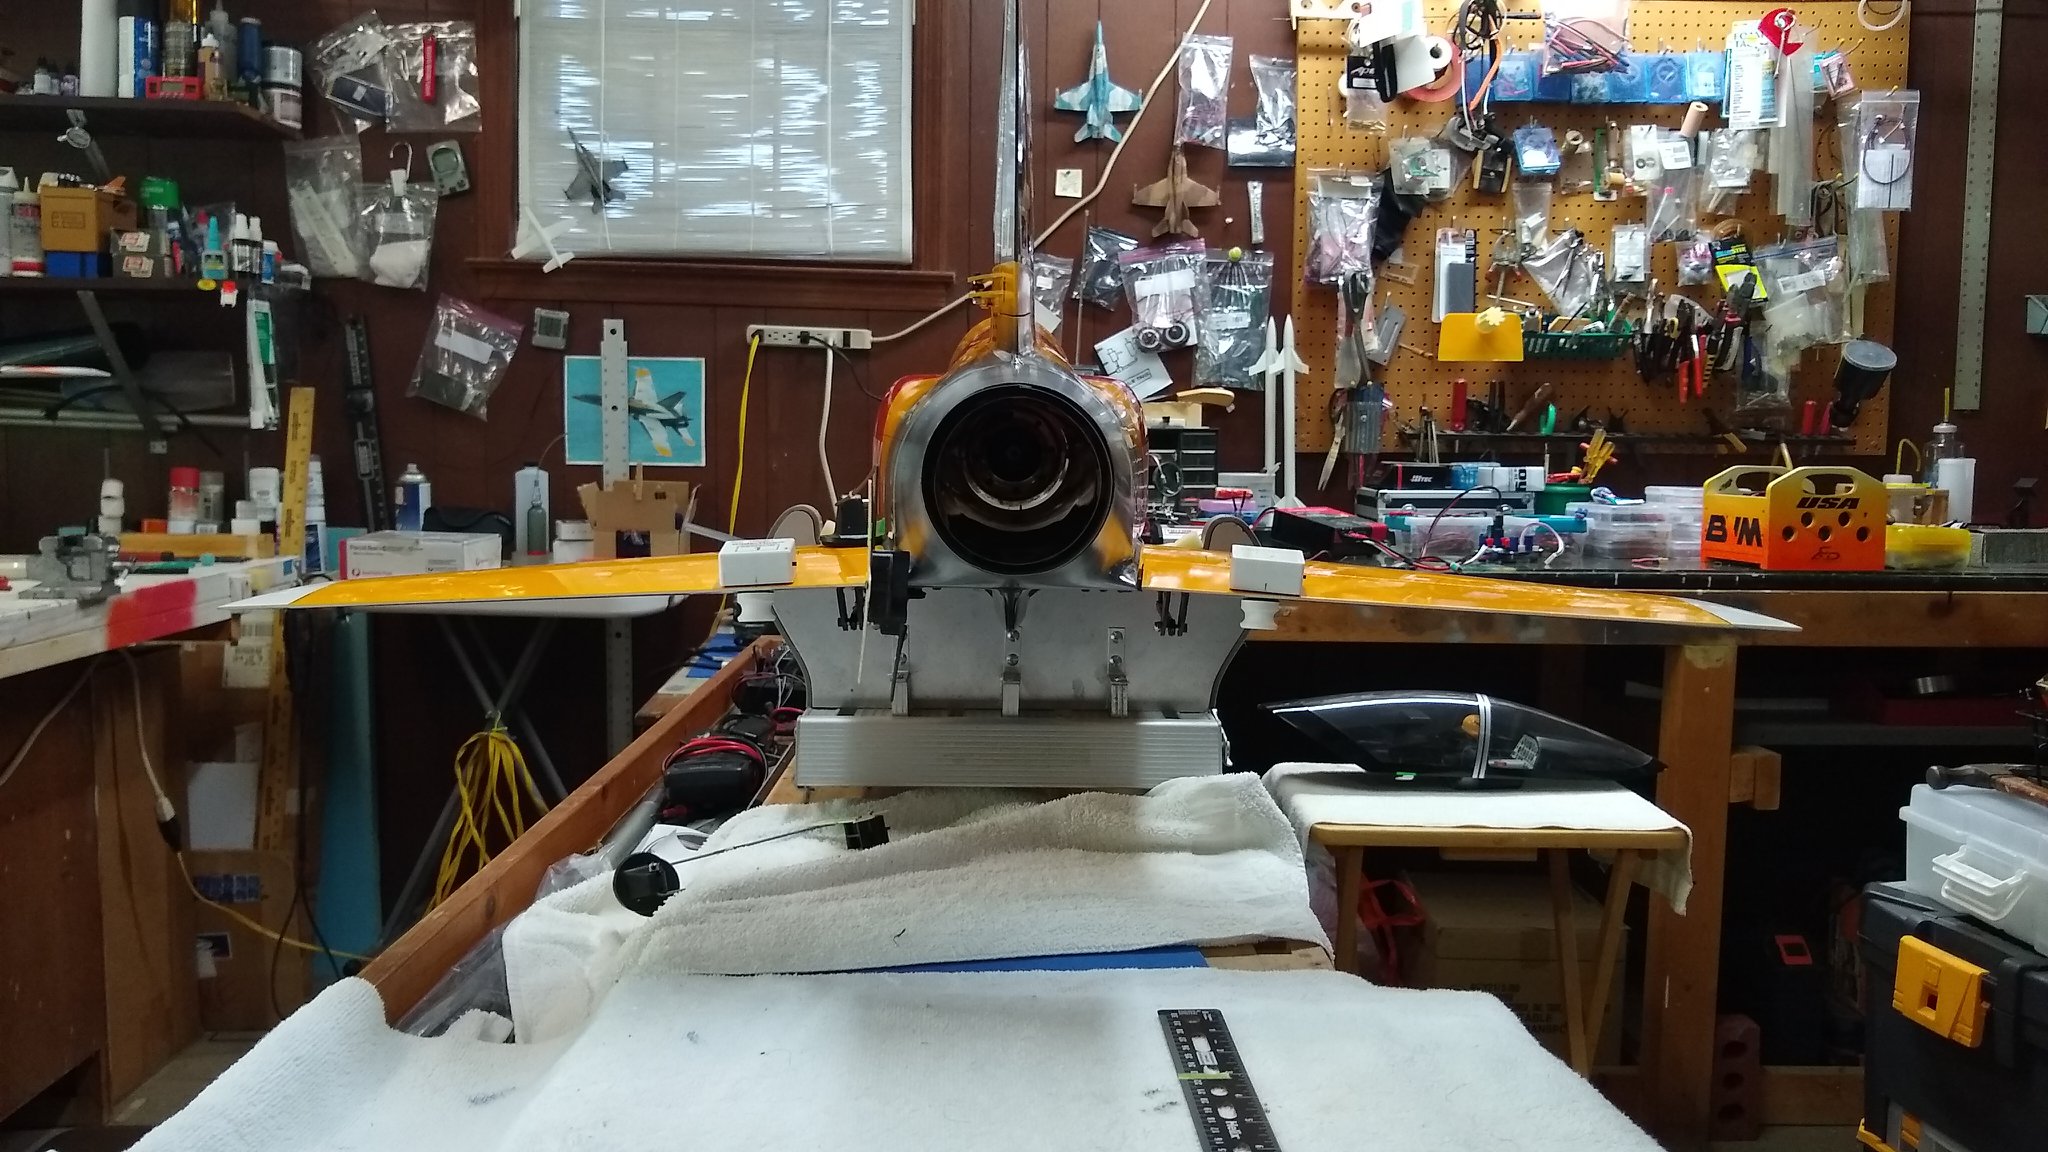
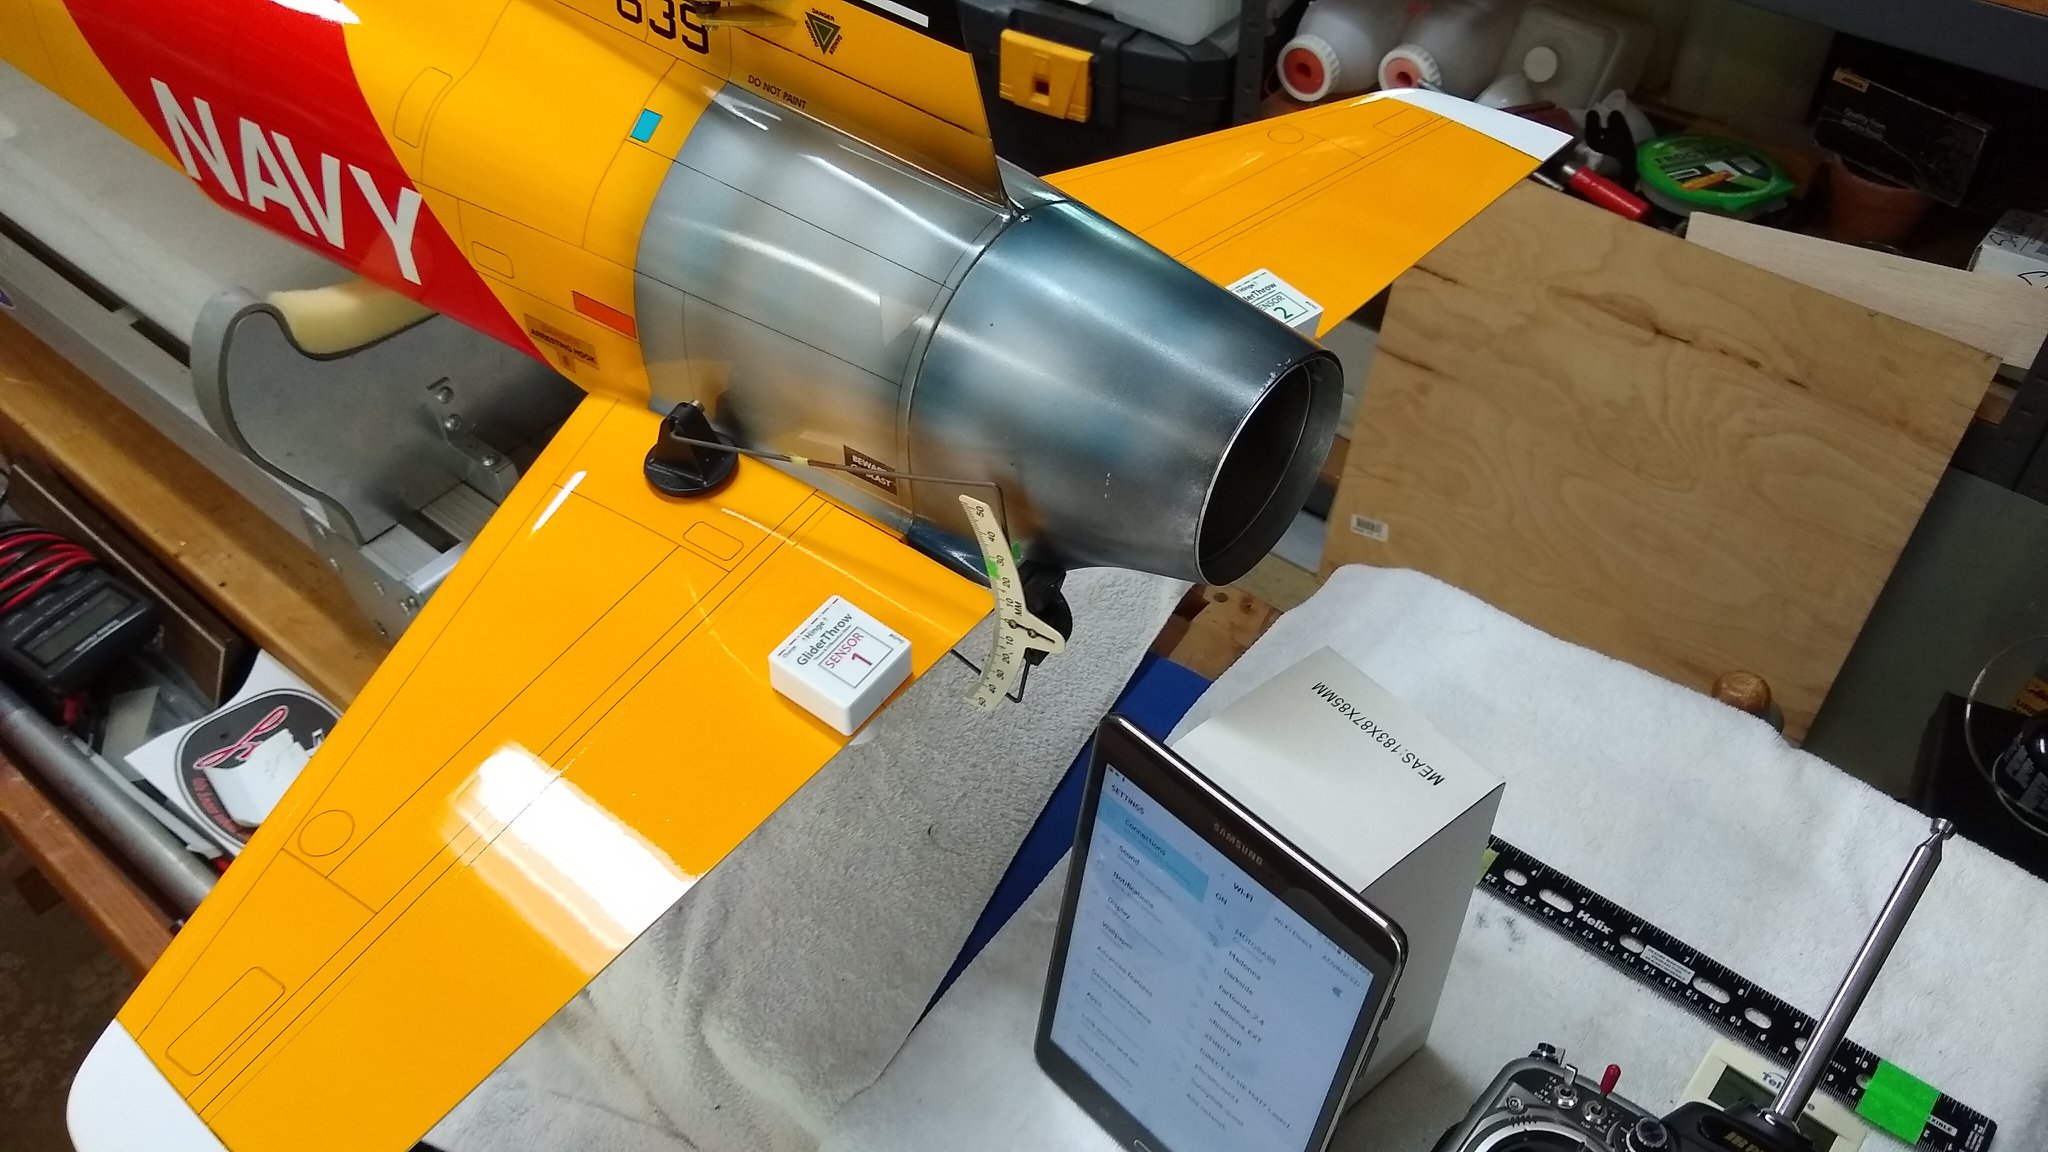
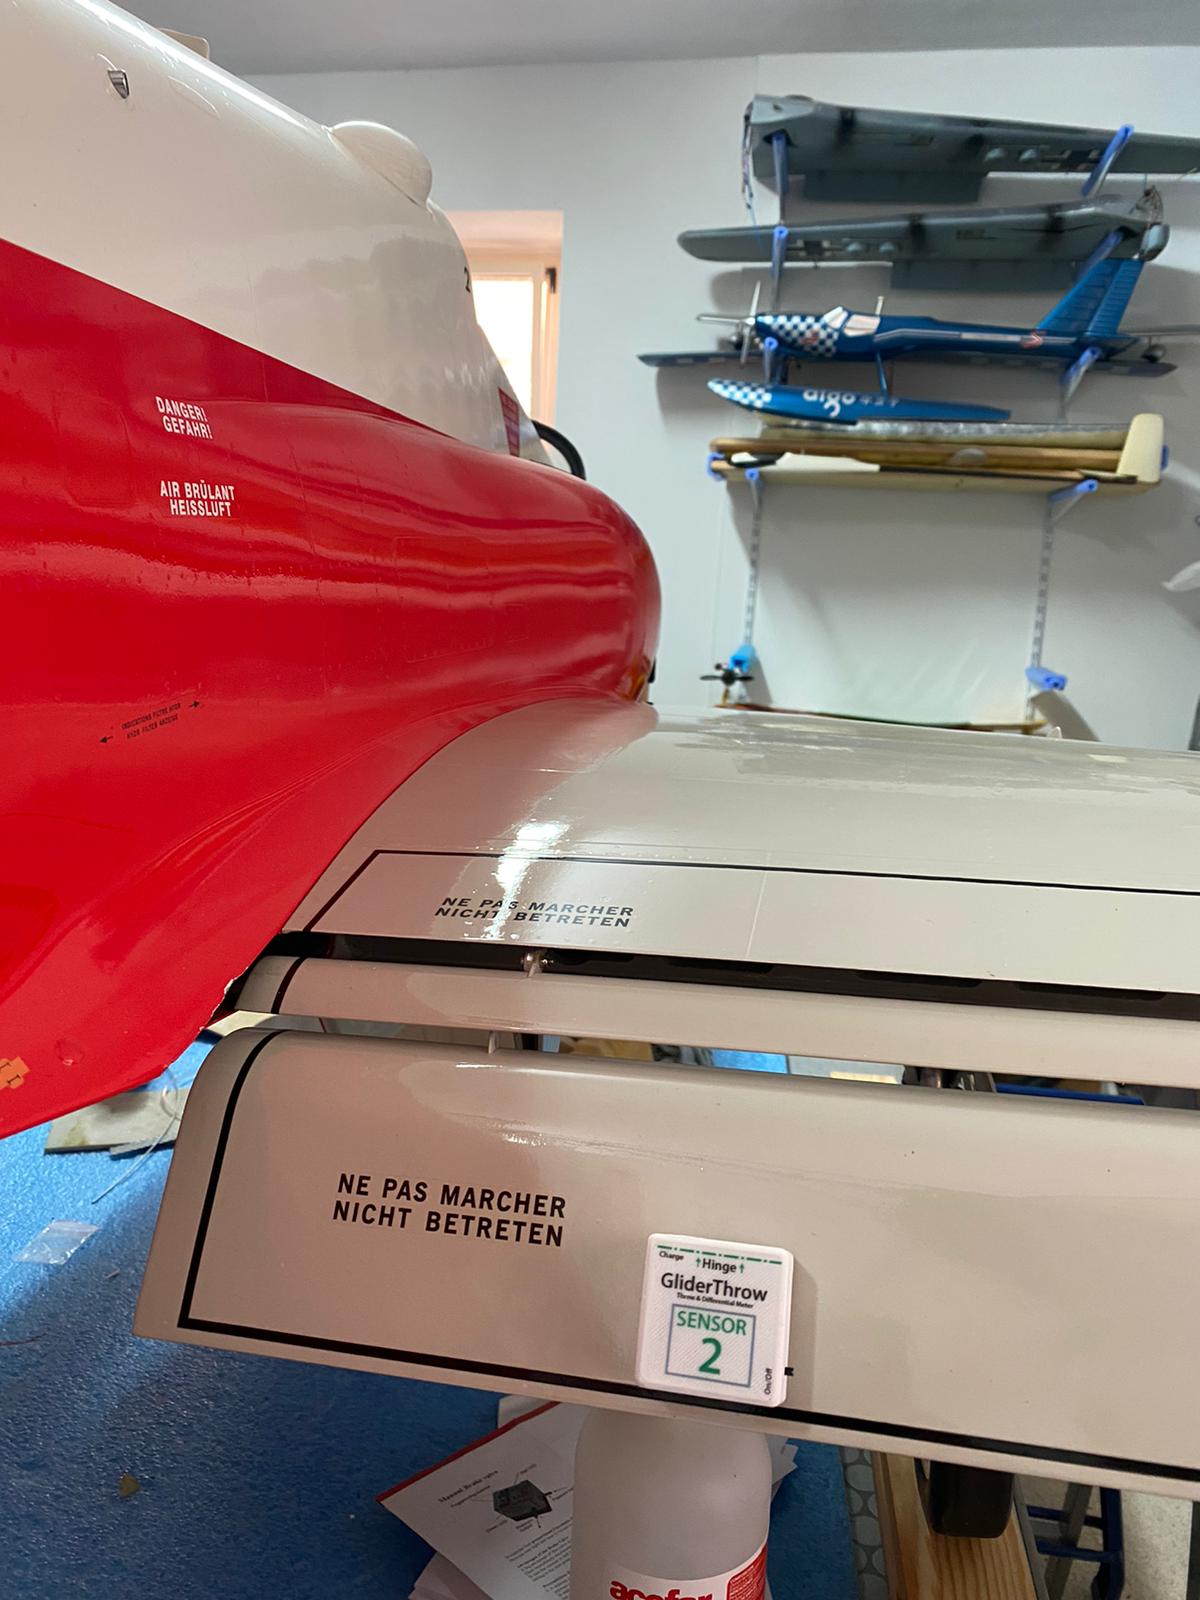
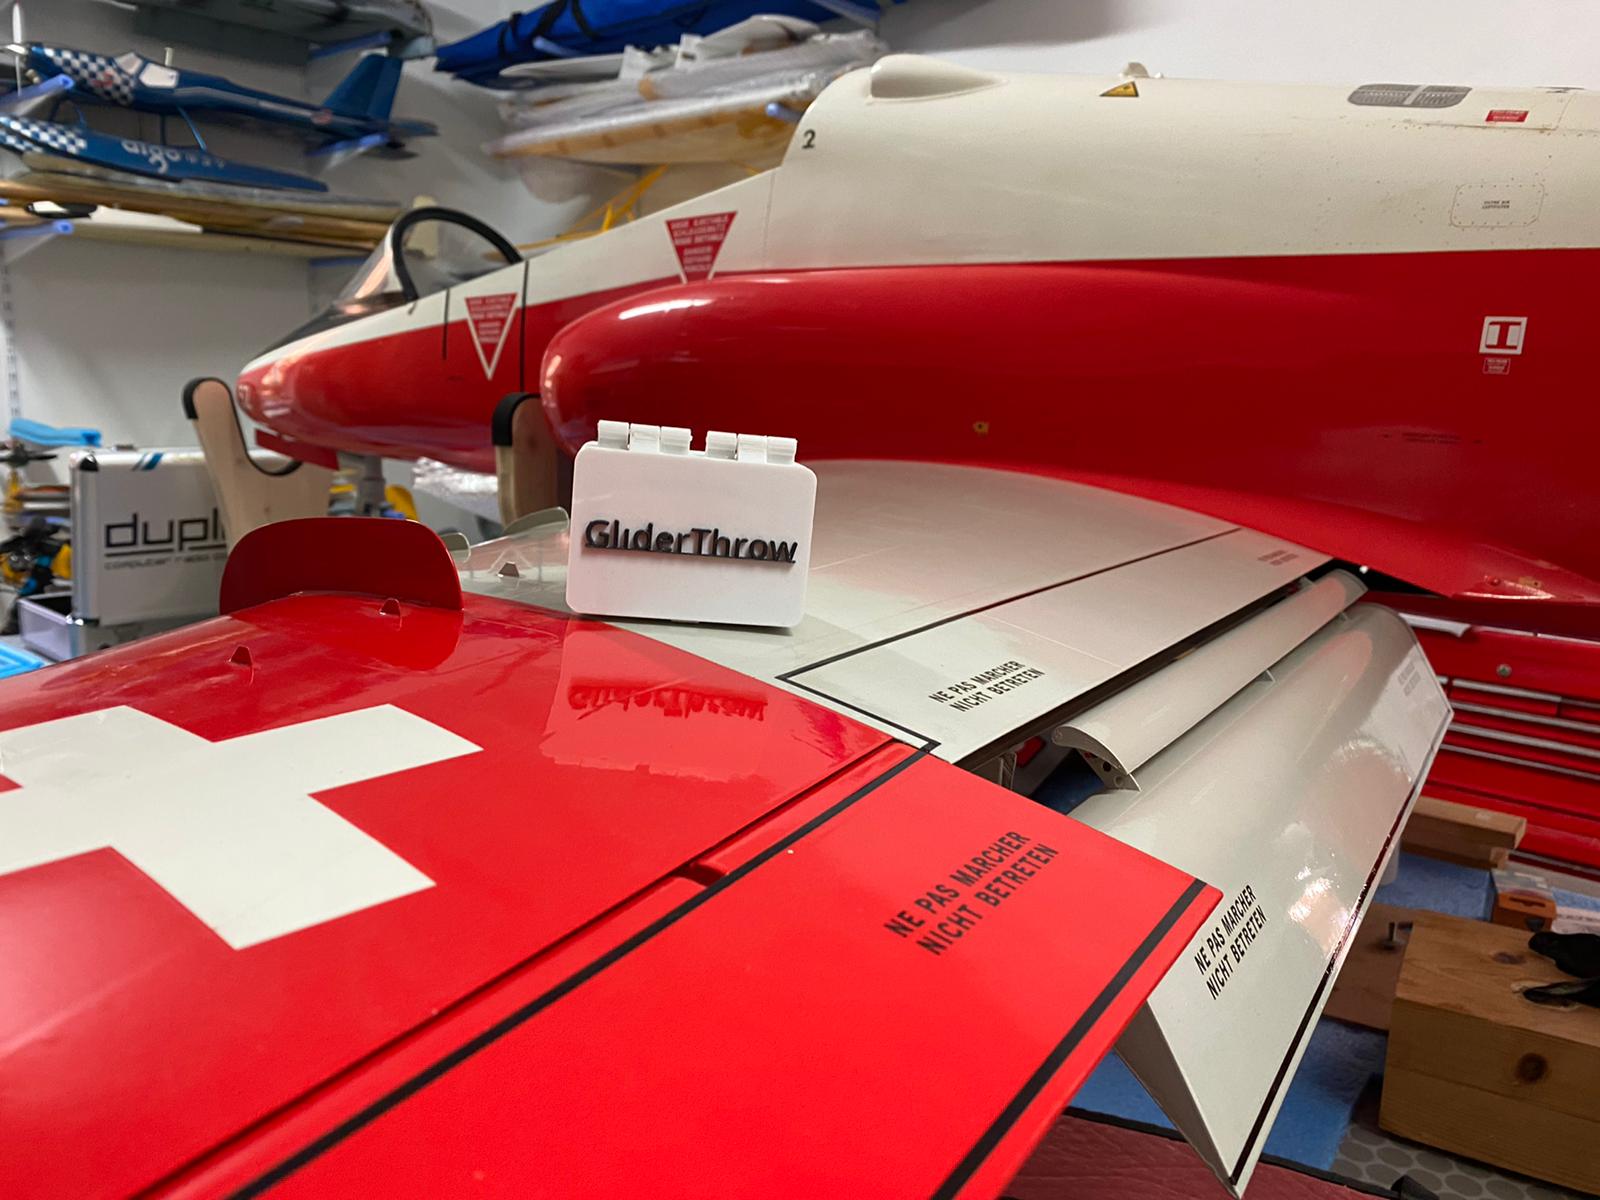
GliderCG Throw Meter and Wing Incidence Tool (Multi-Purpose Digital Angle Throw Meter, and can measure the dihedral angle of a wing, measure incidence angles, etc.) GliderThrow is a digital Angle/Throw meter that provides differentials, too! This small device can measure the deflections in degrees / millimeters with a resolution of 0.1 degrees and can measure the differential when working together with a second unit (since GliderThrow is a system that utilizes two sensors, one for each wing or surface of your airplane).
GliderThrow v3
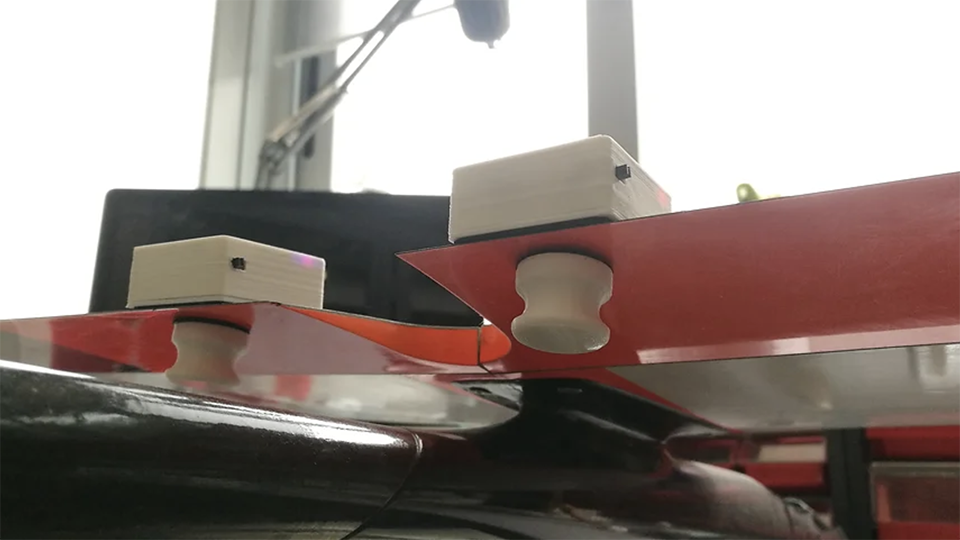
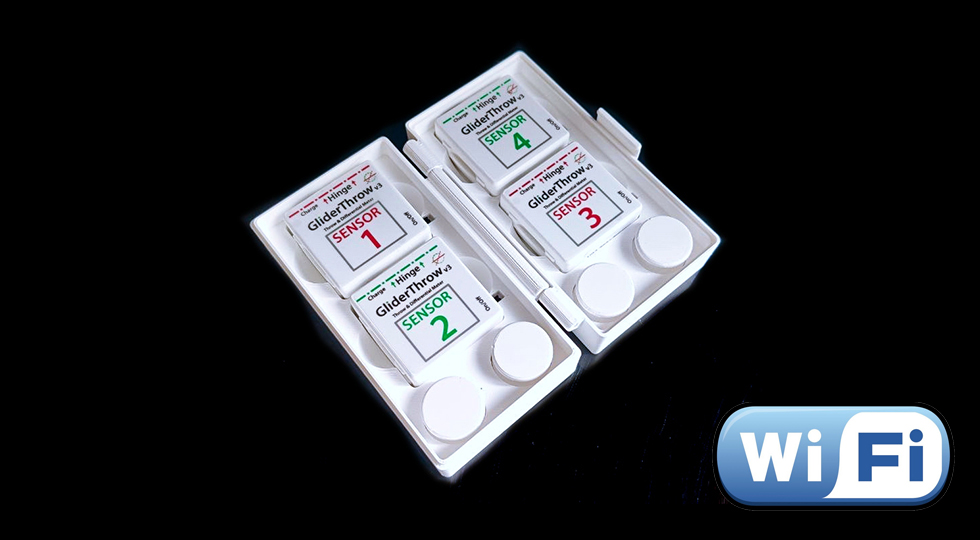
Set of two sensors (1&2) for measuring control surfaces and provide a differential between both.
GliderThrow v3
Set of four sensors for measuring control surfaces and provide a differential two on two.
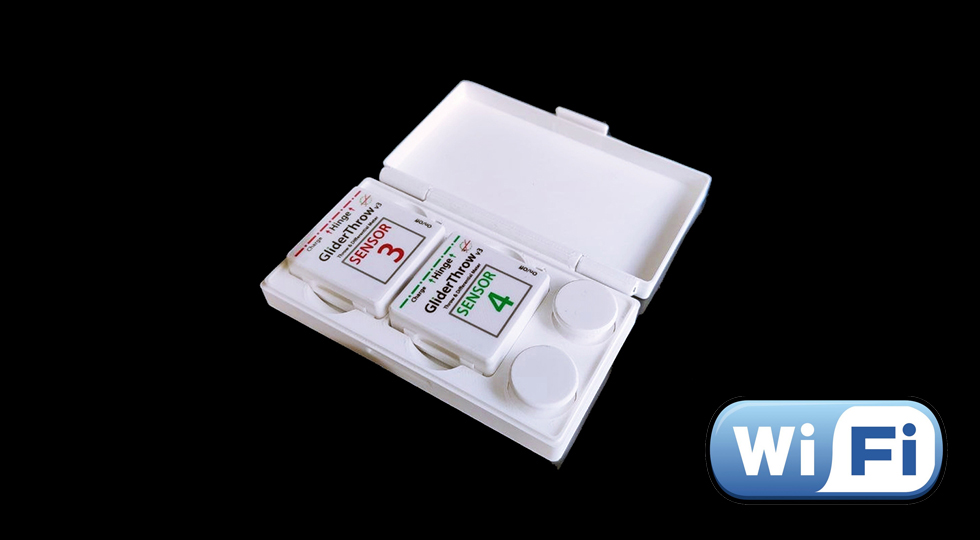
Set of two sensors (3&4) for measuring control surfaces and provide a differential between both.
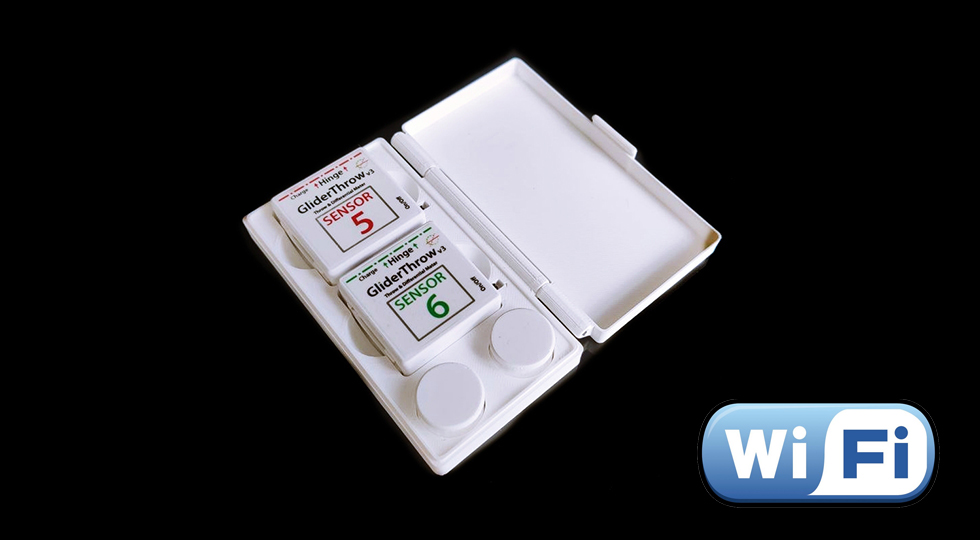
Set of two sensors (5&6) for measuring control surfaces and provide a differential between both. Sensors 3&4 are required.
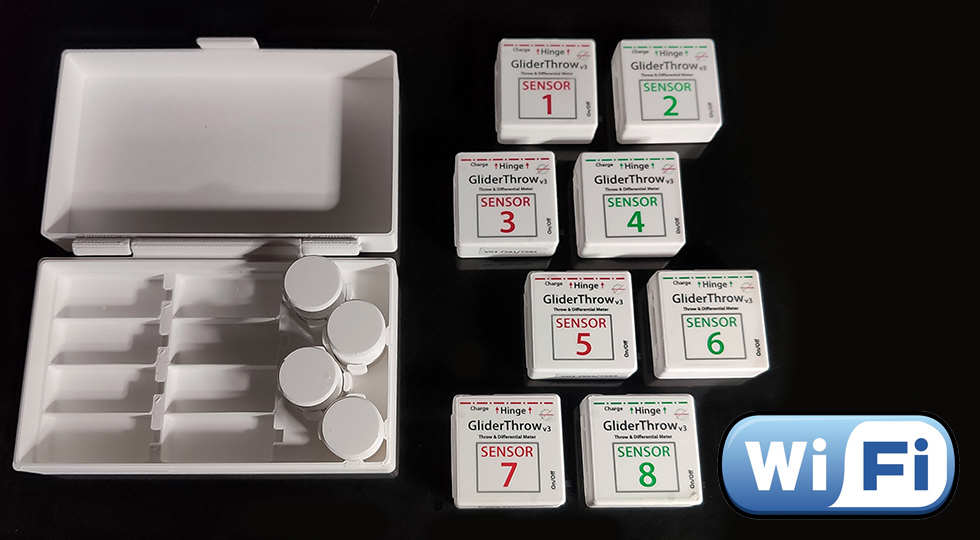
Set of eight sensors (1-8) for measuring control surfaces and provide a differential between both.
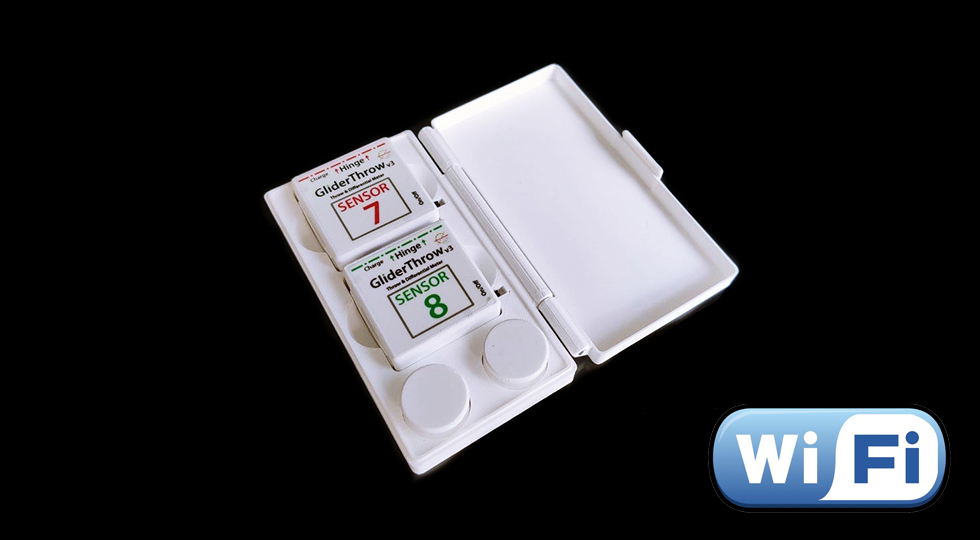
Set of two sensors (7&8) for measuring control surfaces and provide a differential between both. Sensors 3&4 are required.
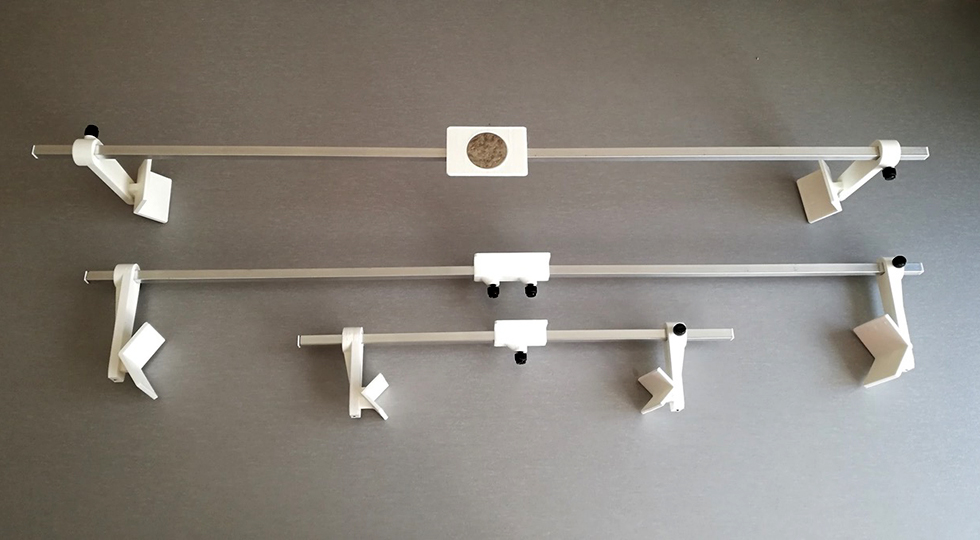
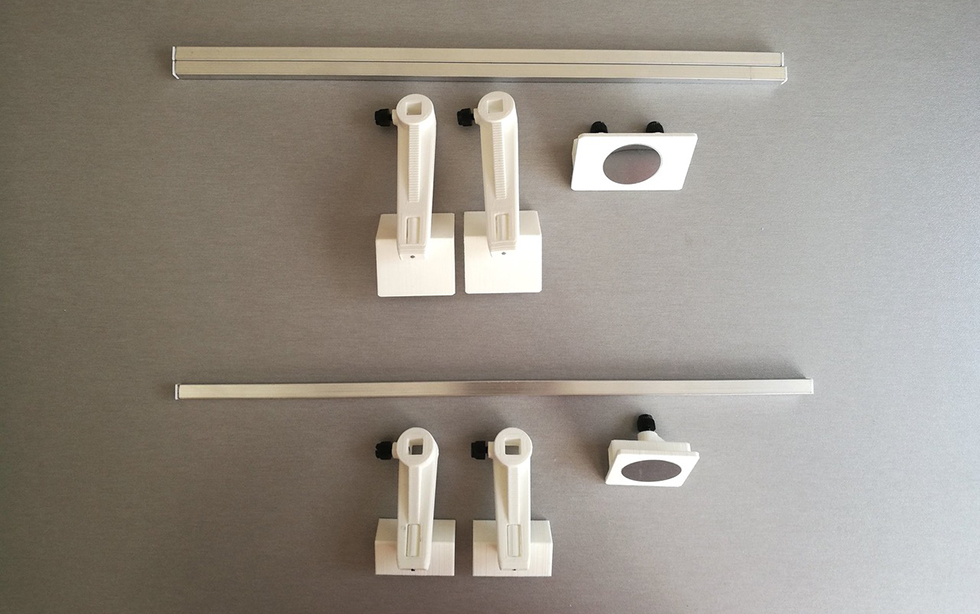
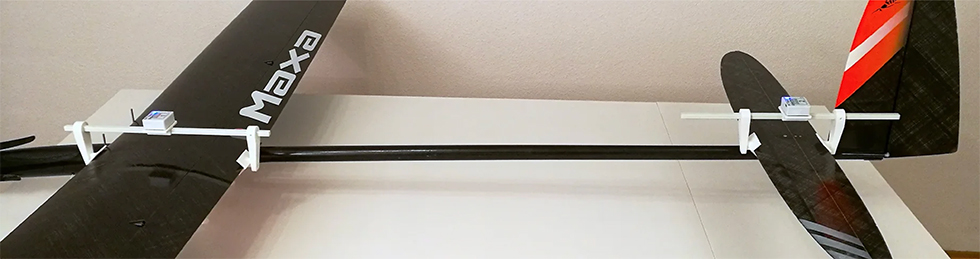
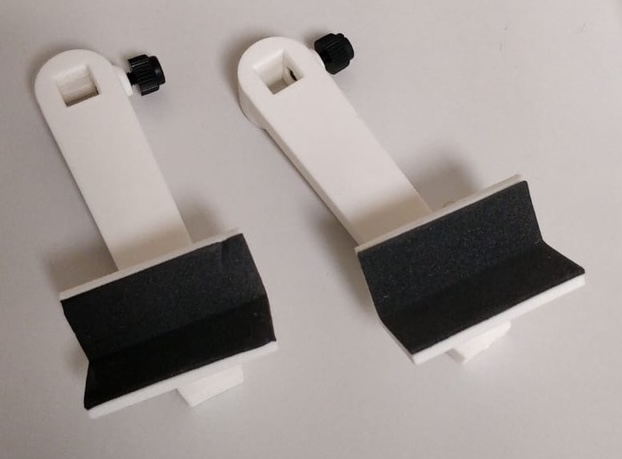
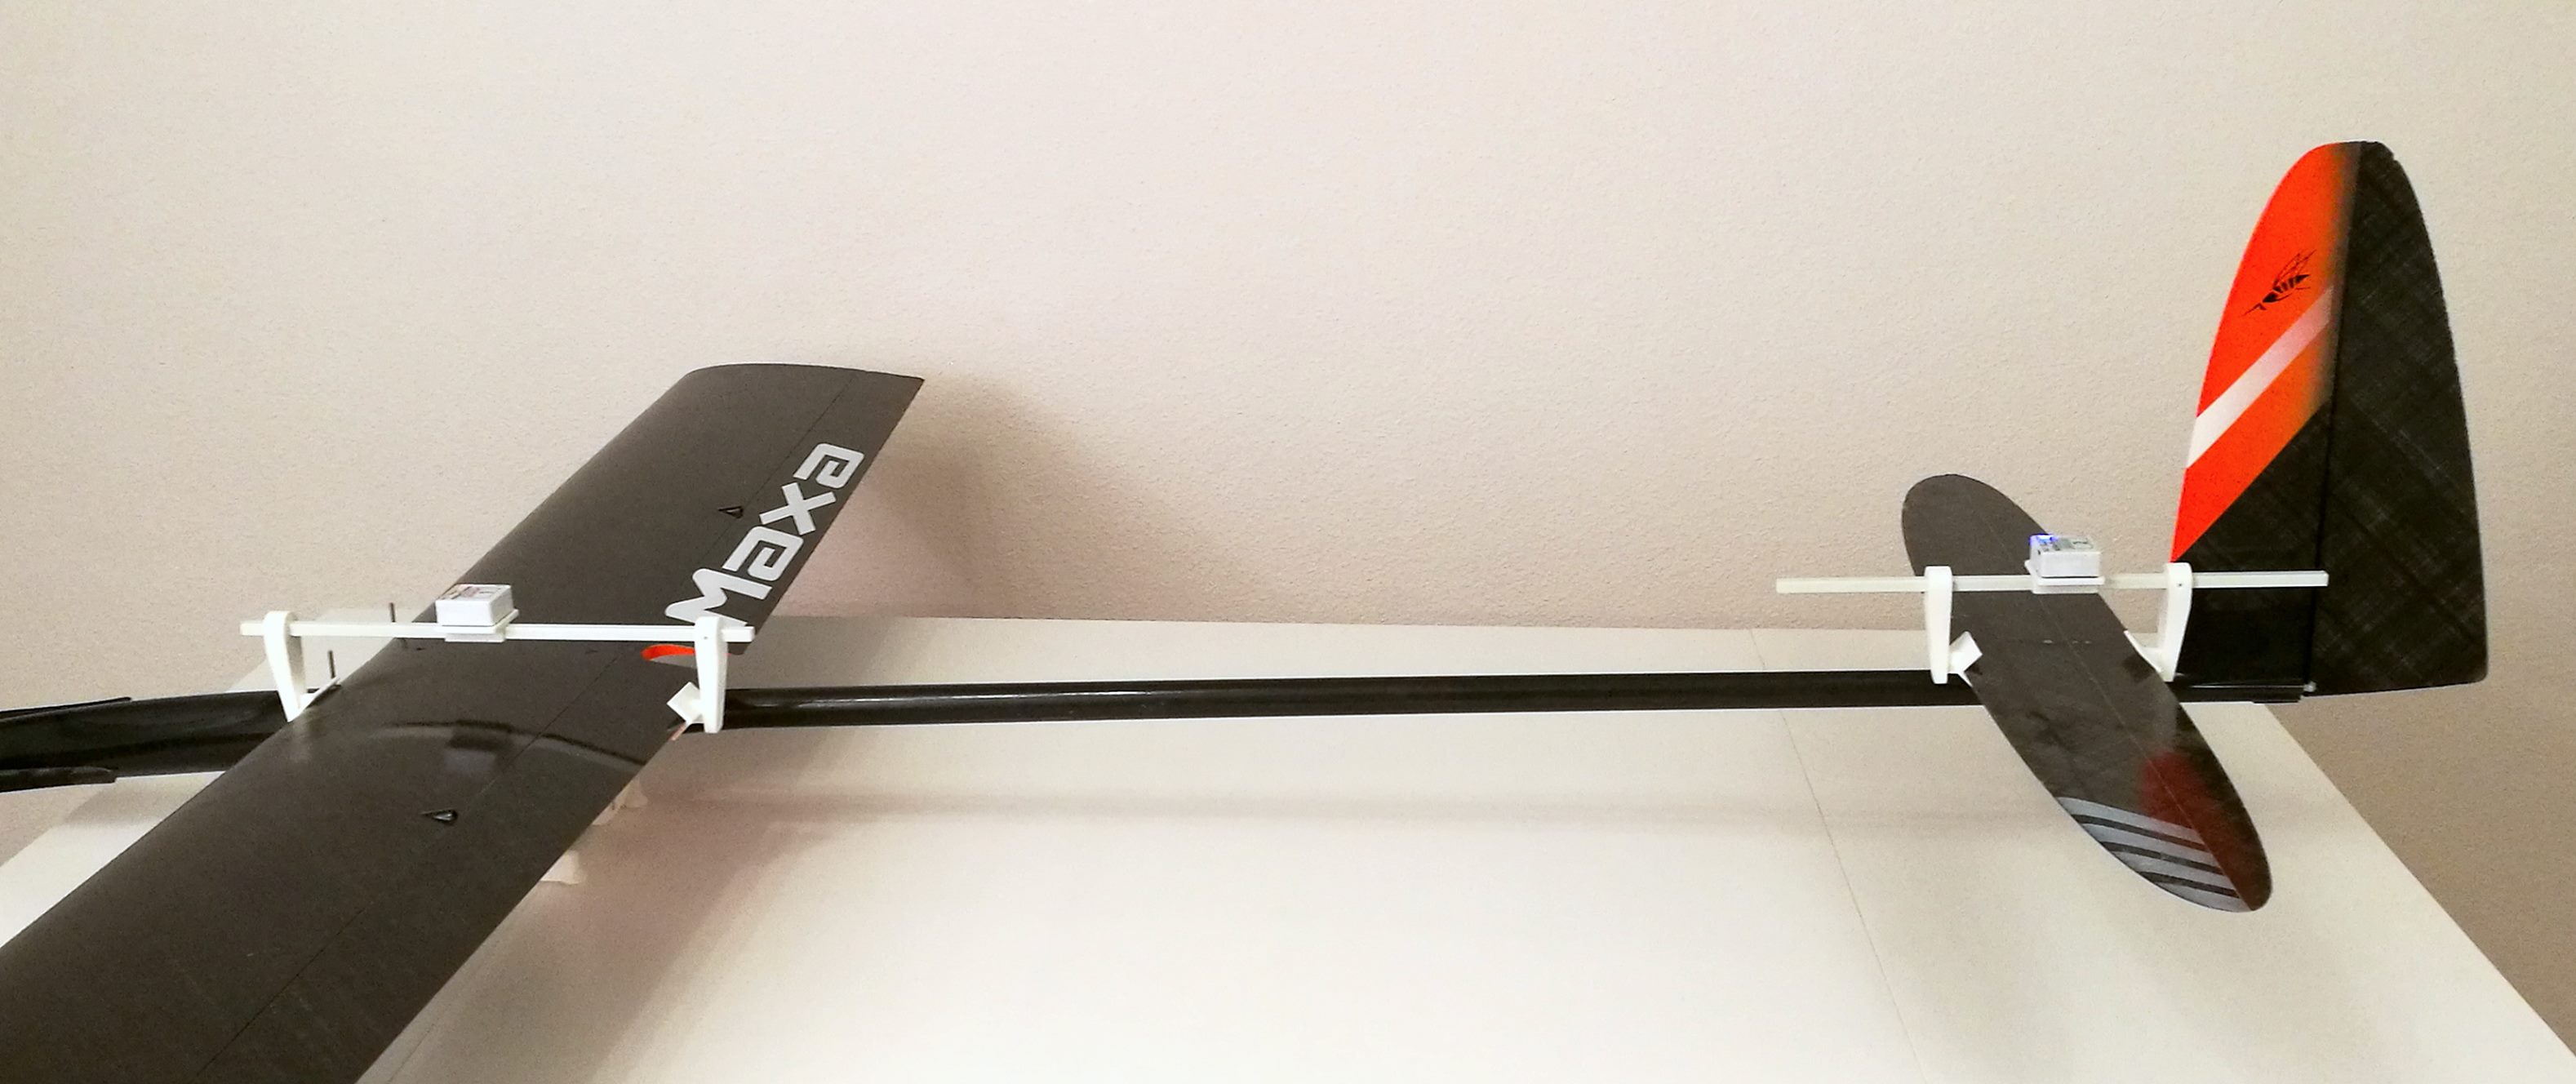
Measuring the incidence (angle between the wing and horizontal stabilizer centerlines) is easy with our Wing Incidence Tool.
To measure V-tails the sensor should hang vertically under the tail. Our optional V-tail adapter also allows the measurement of the EWD there.
$20 Flat rate shipping for USA only. Contact us at [email protected] to calculate international shipping cost. |


 Wingspan Pre-Built ARF Balsa Wood Electric 3D Aerobatic Trainer PNP")
STICK-14 V2 55" (1400mm) Wingspan Pre-Built ARF Balsa Wood Electric 3D Aerobatic Trainer PNP
| STICK-14 V2 55" 1400mm Wingspan Pre-Built ARF Balsa Wood Electric 3D Aerobatic Trainer PNP |
DW-TCG1404
$329.99
 MICROBRICK WITH 2 ON-BOARD SERVOS and 2.54MM HEADER PINS")
Lemon RX DSMP (DSMX/DSM2 COMPATIBLE) MICROBRICK WITH 2 ON-BOARD SERVOS and 2.54MM HEADER PINS
| Lemon RX DSMP (DSMX/DSM2 COMPATIBLE) MICROBRICK WITH 2.54MM HEADER PINS
Description: Lemon Rx DSMX Compatible 6-Channel Receiver + Lemon DSMX Compatible Satellite
Highlight
Setup Instruction Binding
Setting Failsafe
|

LM-0070H
$48.00